3.3 Modifying Your Game
Notice in the Draw method, the parameter gameTime of type GameTime representing time that has passed during the execution of your game. The variable helps you determine when animations and other events should happen based on actual game time rather than processor speed. The parameter is also shared with the Update method since many of the functions controlling the effects are performed in Update.
XNA is running through its Game Loop 60 times per second, calling both Update and Draw. XNA clears the screen and then draws it again 60 times per second, which is easier than trying to keep track of what may have changed since the last time the screen was drawn.
3.4 Adding a Sprite to Your Project
Using the files from the rar file of codes from the author, we find
Chapter3/BasicSprite/Collision/CollisionContent/Images/logo.png
![]()
and
Chapter3/BasicSprite/Collision/CollisionContent/Images/logo_trans.png
![]()
They look the same since the web browser presents on a white background.
In the file search dialog that opens, navigate to the logo.png file within the source code
you downloaded for this chapter. The file will be located in the
When you create your own game codes, take care and verify that DO NOT JUST LINK Files on your home computer. You want to actually copy the file into your VS2010 Solution Explorer because later you must turn in a zip-file of your game and your game will having a missing asset.
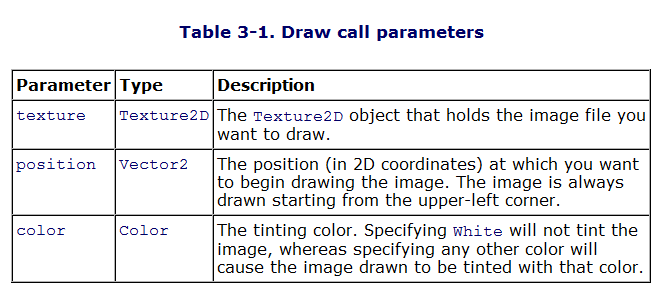
If you see the Asset Name property in the Properties window, you’ll know that the
content pipeline recognized your image. While you can change the asset names for your
resources, the asset names in your project need to be unique. However, asset names
need to be unique only within each content folder. This is another benefit of using
subfolders within the CollisionContent project to organize resources—you can have
multiple resources with the same asset name, as long as they are in different folders
under the CollisionContent project. This may sound like a bad idea that will only complicate
things, but it’s actually pretty common and very helpful. For example, you may
have a font, an effect file, and an image that are all used for an explosion, and it would
actually makes things less complicated if you could name them all “Explosion” while
keeping them in separate directories dedicated to resources of their respective types.
The content pipeline uses an asset name to access content resources. Another way of
verifying that your image file is recognized by the content pipeline is to view the properties
on the newly added item by right-clicking the item in Solution Explorer and
selecting Properties, as shown in Figure 3-3.
As you can see in Figure 3-3, the default asset name of the logo.png file that you added
is logo, or the name of the file without the extension. By default, all asset names will
be the name of the file the asset represents without the file extension.
Large code available from the rar file from BasicSprite directory
Game1.cs.
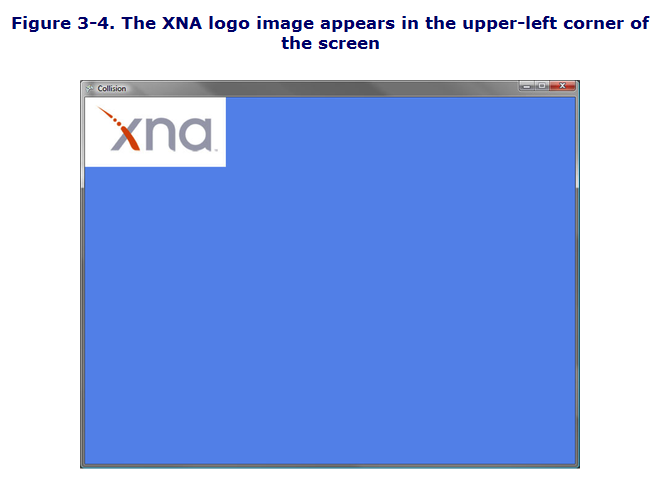
Which you can compile and run to yield the following output:
BasicSprite\Collision\CollisionContent\Images
folder. Once you've selected an image file, you'll see
that item within the Content\Images folder in your Solution Explorer. It will also have
been copied to your own 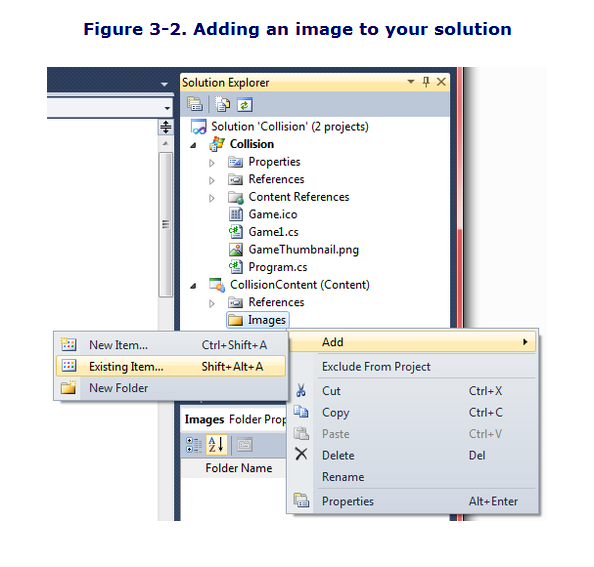
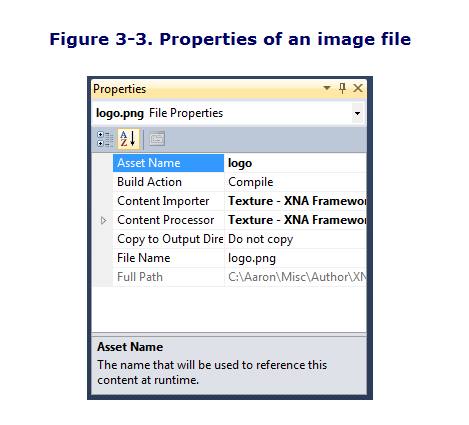
In Figure 3-3, you may also have noticed two properties below Asset Name: Content
Importer and Content Processor. The fact that these properties exist and that they are
set to Texture - XNA Framework is another sign that the content pipeline has recognized
the image that you’ve added to the project; they are marked as ready to be processed
by the content pipeline as texture objects. A texture in computer graphics refers to a
2D image that will typically be applied to a surface of some object. We’ll be doing
exactly that with some image files when we get to the 3D section of this book, but for
now we’ll be drawing these textures directly onto the screen in a 2D game.
3.5 Loading and Drawing Your Sprites
\
click Debug->Build Solution
3.6 Transparency and Other Options
www.getpaint.net/ an image-editing tool you can use to create a transparent background non an image of your choice.
![]()

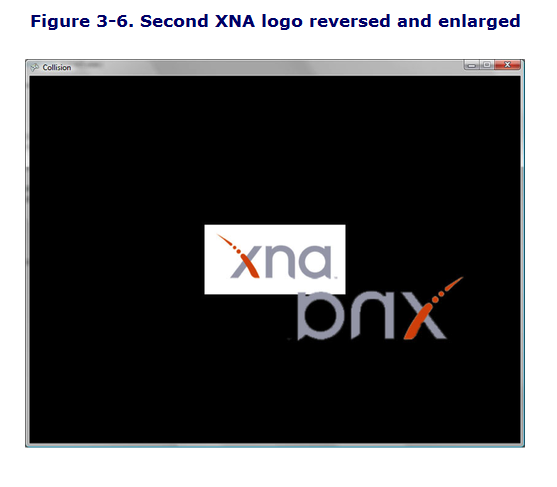
3.7 Layer Depth
![]()
![]()
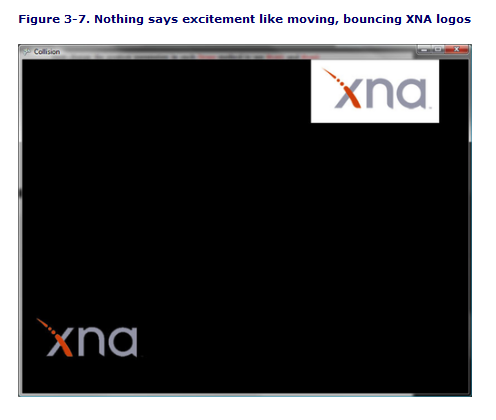
3.8 Let's Move
3.9 Animation
Game1.cs
![]()